The things you need:
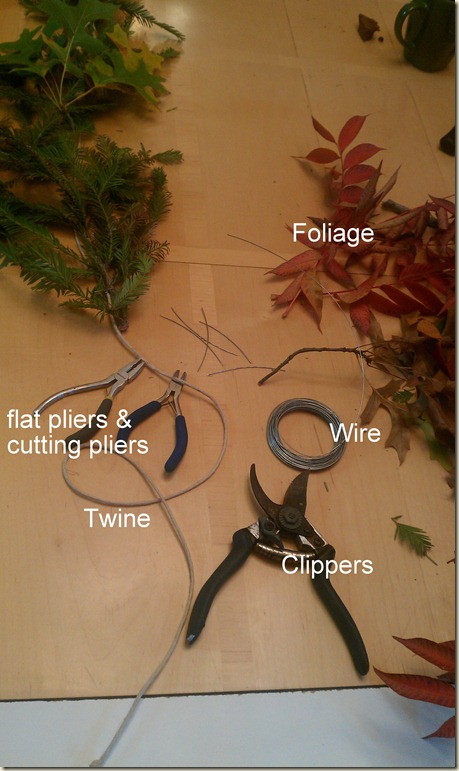
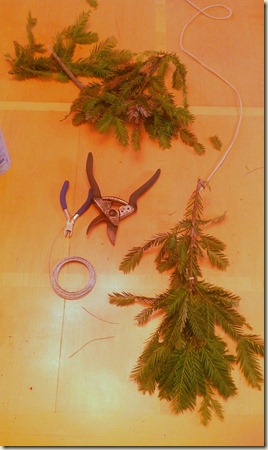
Twine as long as you would like your garland
Wire 19 gauge or a little thinner will work
Pliers cutter for wire and flat with teeth
Garden clippers
Foliage go on a walk and gather yourself a decent selection of healthy beautiful branches, berries, little fruits.. whatever you would like to decorate with.
Step 1: cut your twine as long as you would like your garland, fold it in half and tie a knot in the center
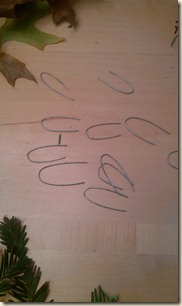
Step 2: Using your wire cutter cut 3” pieces ( or longer if your foliage is really thick) cut about 25 to start. fold them into U shapes.
Step 3: Lay out twine and begin to cut your branches into pleasing 10” or so long lengths. You want the foliage to be leafy and full. I lay them out a few feet along the twine to see how it will look before I wire them on.
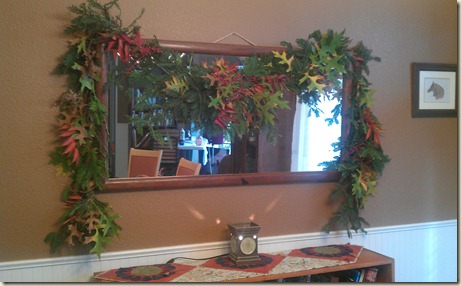
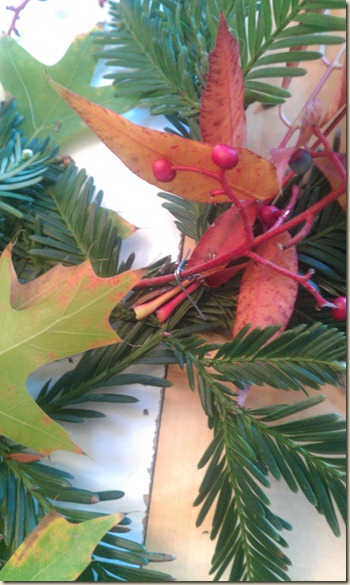
In this years garland I used Evergreen boughs as the main foliage and then I used smaller branches of fall leaves from an Ash tree with berries and an Oak tree with nice big leaves.
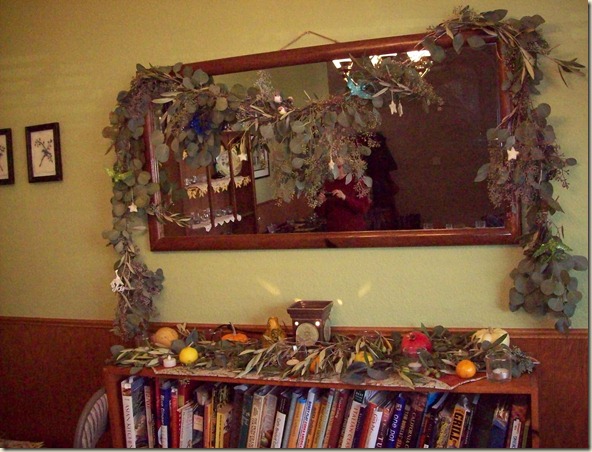
Other times I have used Eucalyptus, olive and pomegranate.
Step 4: At the end you start with tie the end of the twine to the middle of your first branch. this will help anchor the end.
I always point the cut end of the branch toward the center of the garland. the leaves down toward the ends.
Lay out your second branch over lapping the cut end of the first branch by a few inches.
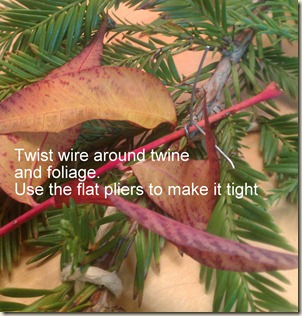
Use a wire and pliers to catch all pieces of branches and twine and twist them securely.
Continue working your way to the center of your garland, overlapping and wiring branches and leaves in a pleasing arrangement.
I leave the wire ends a little long and not completely twisted until I am completely finished with garland. You can use the excess wire ends to wire on berries, lights , ribbons… whatever.
Step 5: When you reach the center of your garland, start placing your branches the other direction, cut end to the center. Foliage toward the end of the twine. using some smaller cuts of leaves and branches overlay the center area so the foliage hides the branch ends.
Continue as before, overlapping and wiring until you are at the end. Tie the end of the twine to the center of the final piece of foliage.
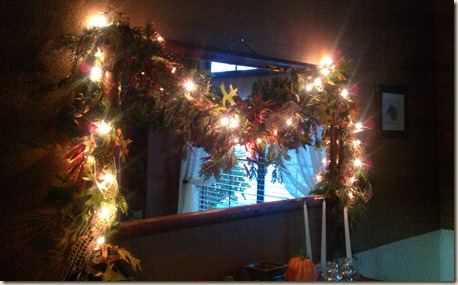
You can now use the small wire ends throughout your garland to attach berries, bows, ect.
I just fold the excess wires over whatever little thing I am attaching.
If you want a bow, tie one with ribbon and leave the ends really long, gently wrap them around the garland anchoring with wires here and there.
You are finished! Now go hang it up and enjoy.
I have made these 50 feet long to wrap the whole front of my house… so you can make them as long or as short as you need.
